Two very good build sessions have brought the KAT100 project pretty close to completion.

| Here's a detail of the completed front panel board. Using the slow-but-sure approach, and carefully following the instructions, it was actually pretty easy to get the LEDs lined up. |

| Here are the RF board and the front panel board bolted together for the first time. |

| Here's a detail of the bottom view of the RF board and front panel board bolted together. When assembling the K2 and the KSB2, you had to be very careful in mounting the various multi-pin connectors so that the PC board connectors would properly seat. Here, you just plug J101 into P5 unsoldered, bolt the two boards together, and then do all the soldering. It was easy. |
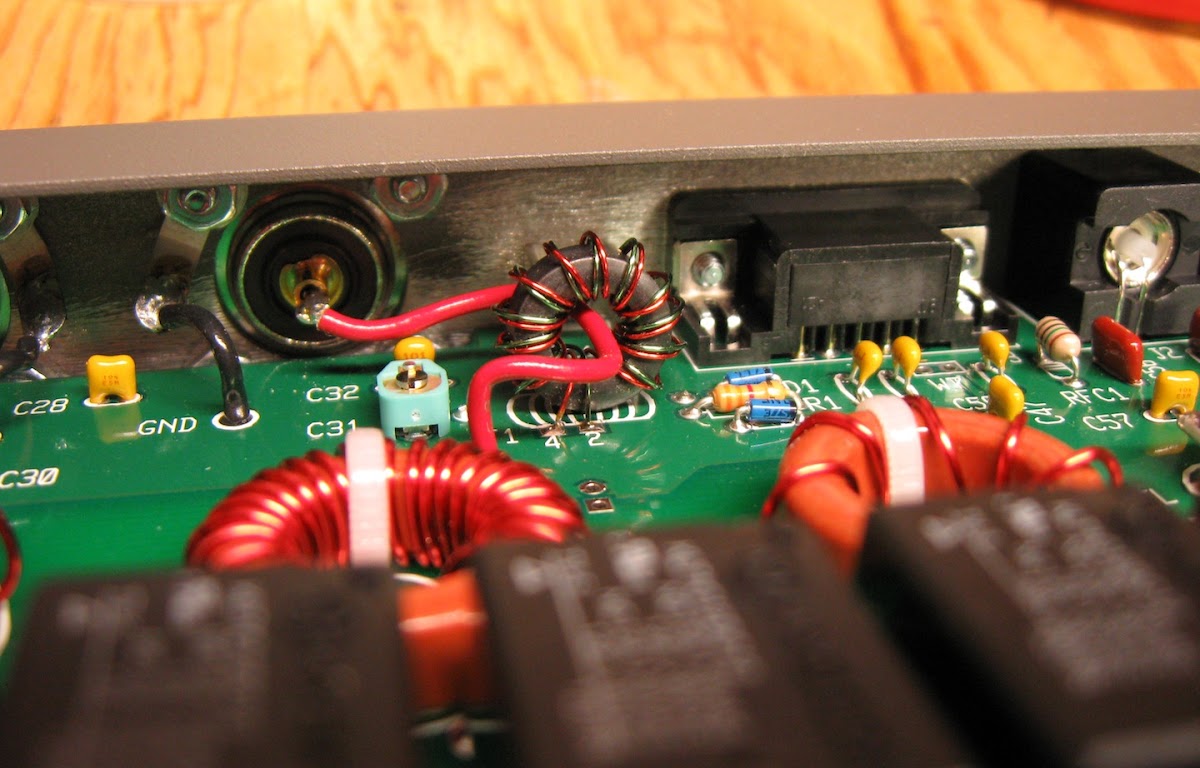
| Here's a detail of the RF-in line threaded through T1. Came out pretty good, but it would have been easier to thread it through before screwing the back panel on. |

| Here's a view of the almost completed KAT100. By the way, although the instructions say that the side panels have a finished side and a "lightly painted", i.e., in-side, as shipped, both sides were actually finished; I used a drill-mounted wire brush to scrape off the paint. |
What remains to be built are the K2-to-KAT100 communications cable and the power cable, to be followed by alignment, test, and (hopefully, with no glitches) putting the new KAT100 on-line.